How To Build Concrete Lawn Borders
Do you know what your lovely garden is missing?
The answer?
Lawn borders.
Yes, your garden needs something to set it apart from the pathway or the lawn. Something to define its borders with. Lawn borders will give your landscaping a finished look by defining your flower beds and pathways.
In this article, we’ll show you an affordable do-it-yourself (DIY) project that will cost you less than $2 USD per linear foot for the concrete and materials.
But first…
Why Concrete Lawn Borders?
Concrete is the best building option because it lets you build your desired shape and stain it with color while also matching your style. With proper materials and guidance (like this one), you can challenge yourself to do it on your own without any help. Once you complete your project, you probably won’t have to think about it for the next 15-20 years.
The Materials You’ll Need Are
- Quikrete Crack Resistant Concrete Mix
- Quikrete Liquid Cement Color (Optional)
- Quikrete All-Purpose Gravel
- Quikrete Acrylic Concrete Cure N’ Seal (Optional)
- Mixing Basin, Wheel Barrow, and an Electric Mixer
- Edging Tool
- Margin Trowel
- Hammer
- Square And/Or Pointed Shovel
- Screw Gun
- Wood Stakes
- Wood Screws
- Wood Float
- ¼-Inch Plywood
- Waterproof Gloves
- Safety Glasses
The Building Process
- Clear out the area of any mulch rock or any other material where you want the borders. Use a shovel to outline the area’s borders.
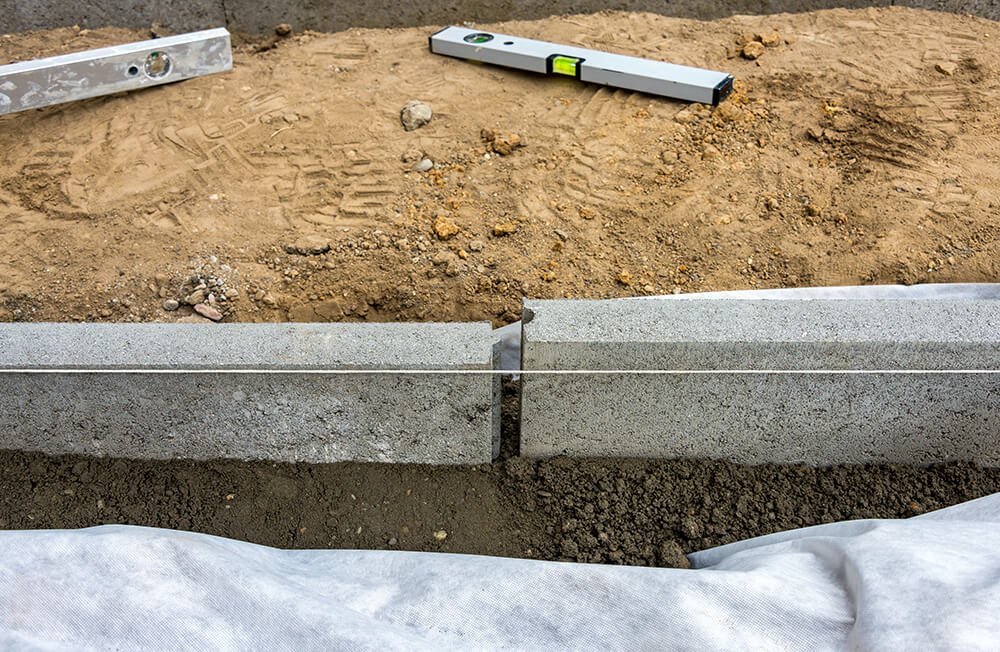
- Determine your border’s thickness, depth, and height. An ideal concrete border should be at least 3 ½ inches thick and at least 2 inches deep to anchor them and prevent shifts or cracks.
After determining the thickness, height and depth, dig a trench – ½ to 1 inch deeper than the desired border width, minus the border’s depth – This will allow for terrain variations as you build the forms. - Make the trench 2 to 3 inches wider than the border’s width. The walls should be as vertical as possible. This will support the forms. Use a square shovel to level the trench’s bottom.
- Use a circular saw to cut quarter-inch plywood into strips for the border forms. The strips should be equal to the concrete border’s depth. Place them in the ground.
After that, hammer 12-inch-long, 1-inch by 2-inch-wide wood stakes outside the forms. Ensure they’re vertical to securely hold them in place.
Level the stakes with the form’s top edges. - Now, from inside the form, drive two 1-inch screws through the plywood into the stake. Drive one screw near the top and the other in the middle of the form.
After that, drive a stake into the ground at the end of the form – So that the form edge aligns with the middle of the stake.
Screw the form against the stake with two screws. This will ensure the next board touches against the previously set board and create a continuous form.
You can use more stakes to help maintain the border form’s desired shape. - Once you’ve built a few sections of the border form, it’s time to start constructing the other side of the form.
Use 1-by-1-inch or 1-by-2-inch wood spacers, 4 or 6 inches wide at regular intervals to ensure the border’s width is consistent.
Slide the spacers between the forms so that the forms are parallel. You can keep the spacers or remove them before pouring the concrete. If you decide to keep the spacers in place, you must push them to the bottom of the form to stop the concrete from cracking. - After building the forms, compact the ground under the form and pour about a half-inch of Quikrete All-Purpose Gravel in there. The gravel prevents concrete from blowing underneath the form while providing a solid base for the concrete.
- Put the concrete mix into the form with a shovel. Use Quikrete Crack Resistant Concrete to build concrete borders. It’ll help resist shrinkage cracking and has a superior finish.
The concrete’s surface must be flat and a little above the form. Place a few batches into the form while using a wood float to remove the excess concrete, level, and smooth the surface.
You can mix the concrete by hand – in a wheelbarrow or mixing tub – or mix it with a barrel-type mixer. Regardless of your method, properly mixed concrete should look like thick oatmeal and should hold its shape when you squeeze it with a gloved hand. - Use an edging tool to shape the borders. Pass over the mix multiple times in each direction for a smooth finish.
Then use a margin trowel every eight feet to cut in control joints. The control joints should be at least a quarter of the border’s depth.
Concrete can shrink while curing, so control joints help determine where this will occur. - Use a fine water mist to water-cure the freshly placed concrete for at least three to five days. Let the concrete cure and gain strength for three to five days, and then remove the forms.
- On the fifth day, pry away the stakes and remove the forms. The tip of a pointed shovel is suited for this task.
At this stage, the concrete mix has only achieved about half of its strength, so don’t use too much force – that could crack the new concrete. - After removing the forms, backfill with soil and replace any landscaping materials.
To Wrap It Up
Before, you couldn’t differentiate the beds from the lawn, but now, you have a clearly distinguishable lawn border to separate your beds from your lawn. While adding curb appeal to your garden.
